🌿 Introduction: Breathe New Life into Your Deck
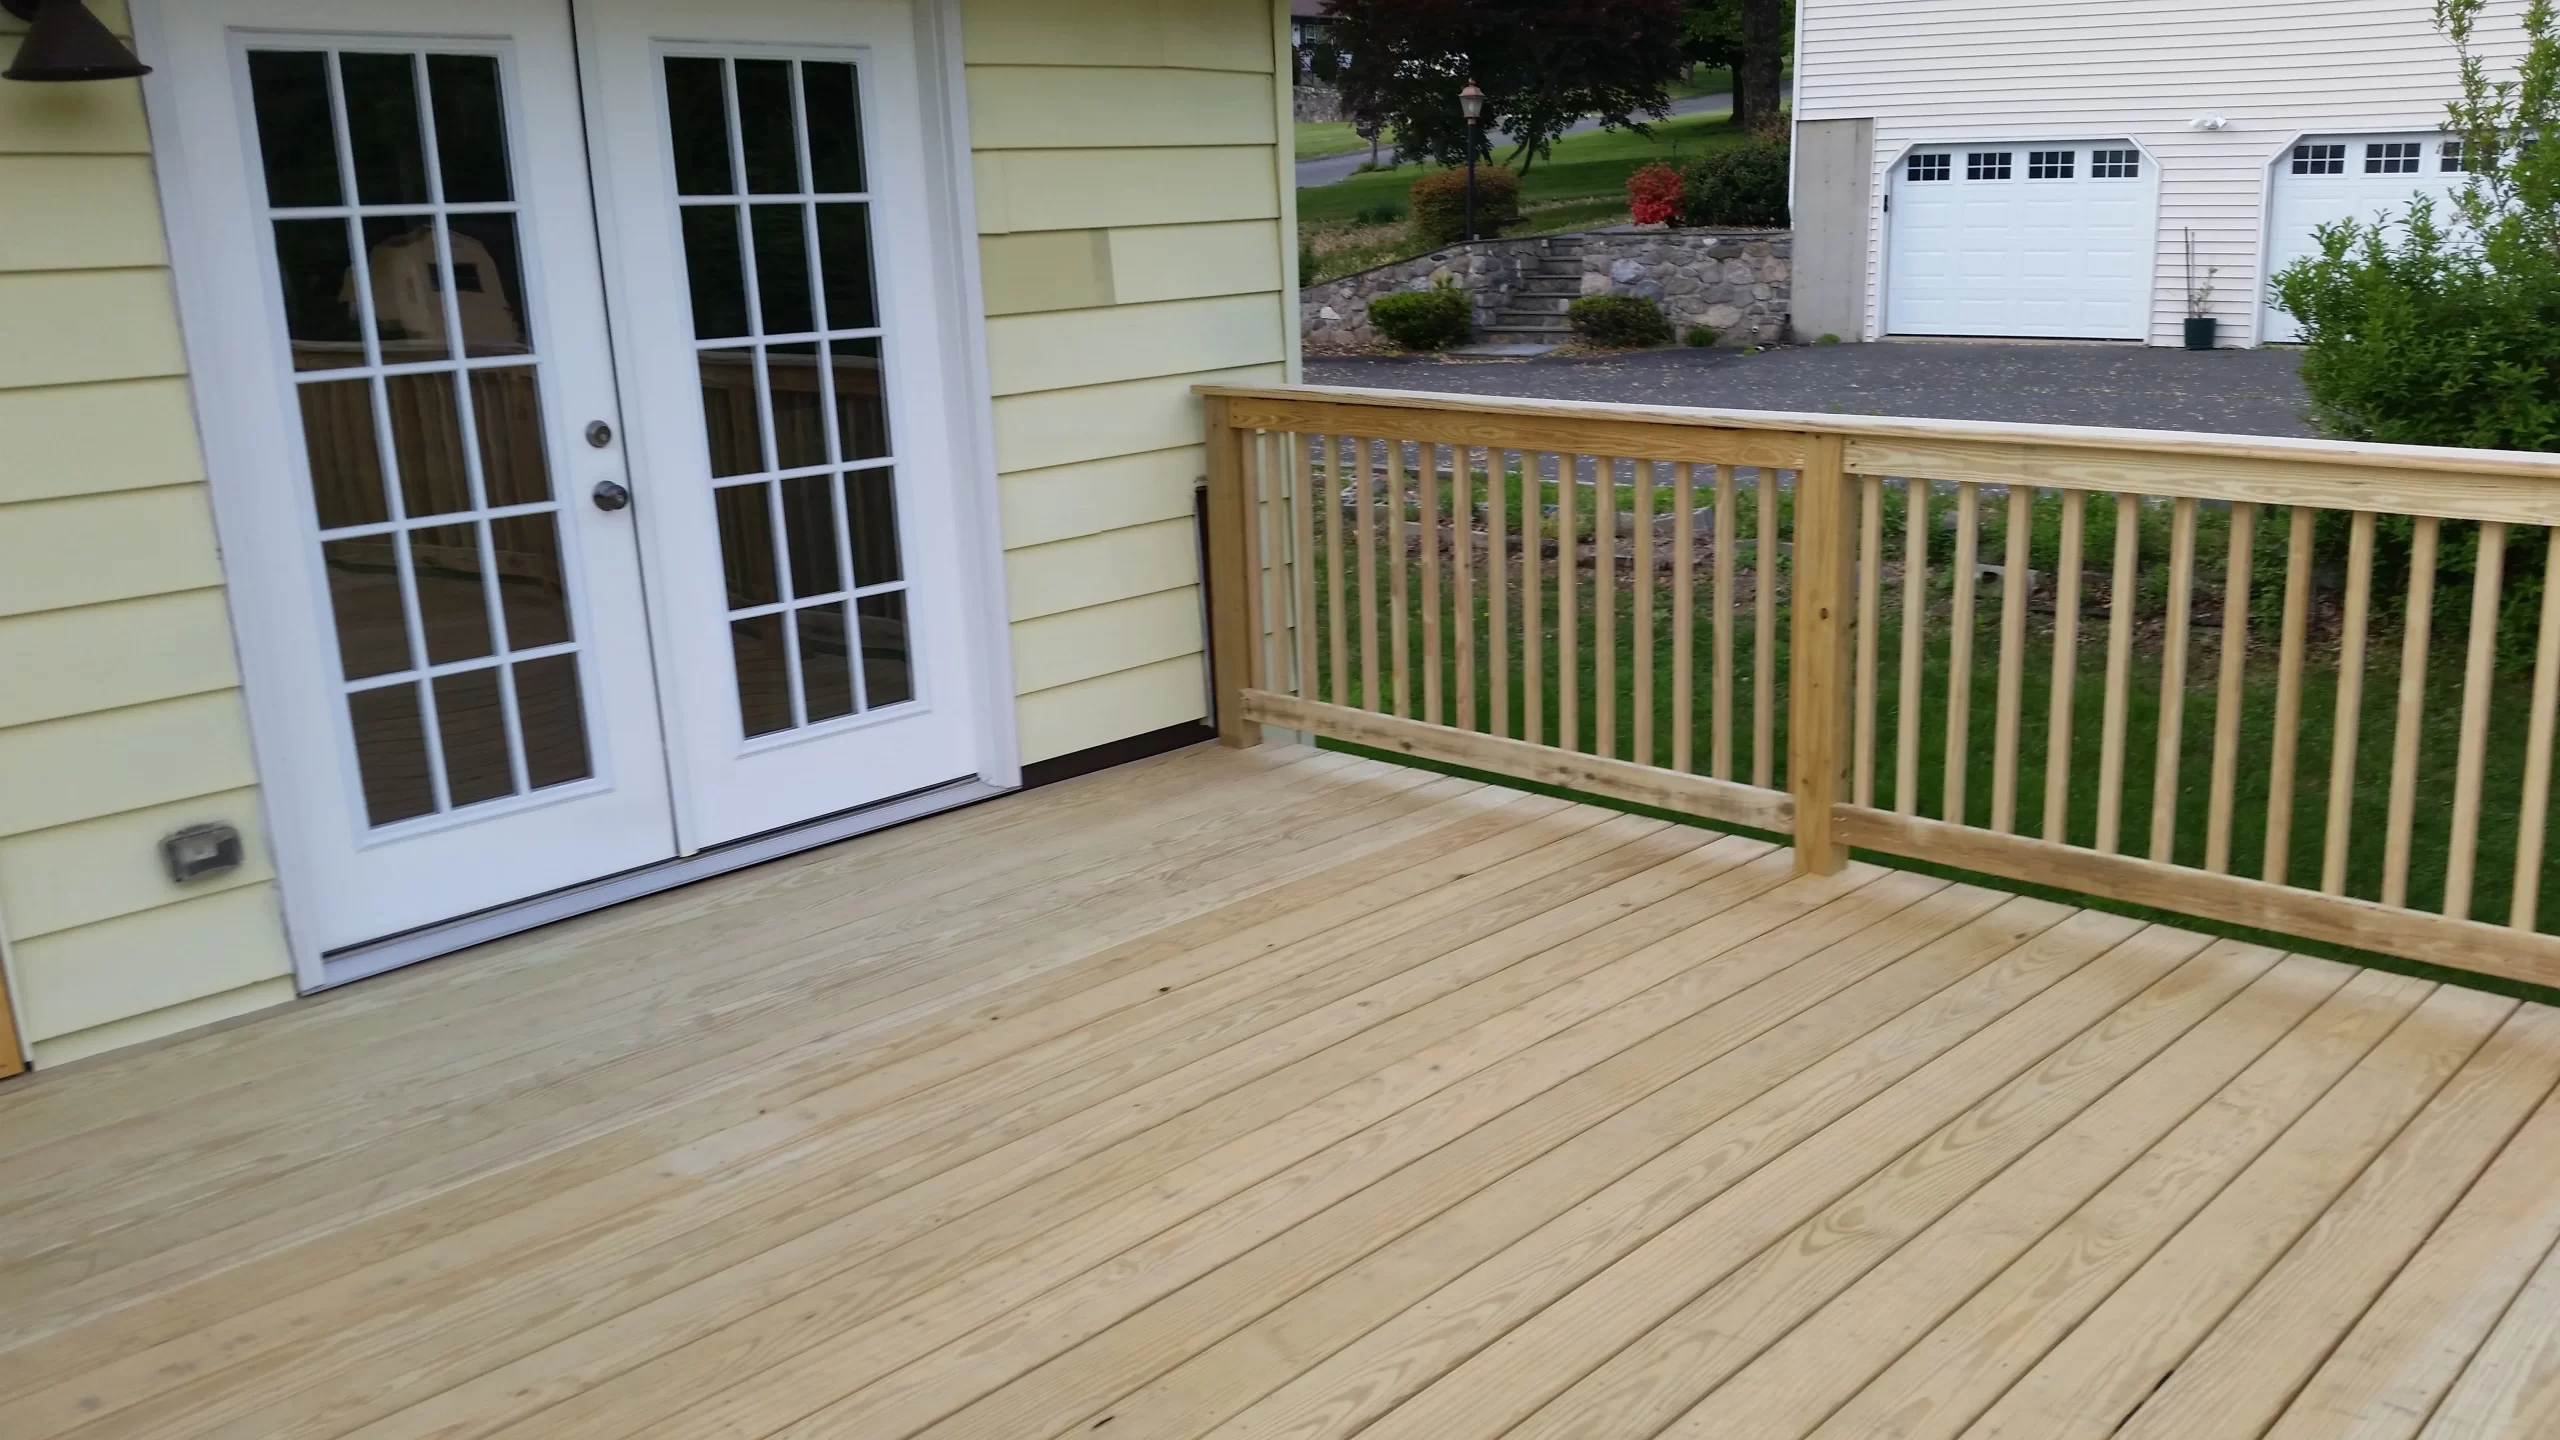
Your deck is your outdoor sanctuary—a place for morning coffee, summer barbecues, and evening relaxation. But over time, foot traffic, weather, and sunlight can take a toll, leaving it faded, rough, and worn. The good news? You don’t need a full replacement to restore its beauty. With proper sanding, you can refresh the look and feel of your deck, making it smooth, safe, and ready for entertaining.
To help you get the best results, we’ve compiled practical tips and expert advice to guide you through sanding your deck like a pro. Whether you’re tackling the project yourself or considering professional help, these tips will ensure a flawless finish.
✅ Tip #1: Start with a Clean Slate
Before you even think about sanding, make sure your deck is spotless. Sanding over dirt, mildew, or old stain residue is a recipe for disaster—it clogs the sandpaper and creates an uneven finish.
Here’s how to prep your deck properly:
Clear the area: Remove all furniture, plants, and décor.
Tighten loose fasteners: Inspect for protruding nails or screws and secure them.
Give it a good wash: Use a power washer or deck cleaner to remove grime, mildew, and old stains.
Let it dry thoroughly: Damp wood makes sanding uneven and messy, so wait at least 24-48 hours after washing.
💡 Pro Tip: When using a power washer, keep the nozzle moving to avoid gouging the wood.
🛠️ Tip #2: Choose the Right Sandpaper Grit
Picking the right sandpaper is one of the most important steps in achieving a smooth, splinter-free deck.
Use these guidelines for sanding grit:
Coarse Grit (60-80): Ideal for rough, weathered wood or removing old paint or stains.
Medium Grit (100-120): Perfect for smoothing the surface after initial sanding.
Fine Grit (150-180): Best for finishing touches but not recommended for entire deck sanding—it can make the wood too smooth to absorb stain properly.
💡 Pro Tip: Don’t skip grit levels—gradually work your way up from coarse to medium for a polished, even surface.
🔥 Tip #3: Use the Right Tools for the Job
The tools you use can make or break your deck sanding experience. While hand-sanding is possible, it’s backbreaking work for large decks. Instead, opt for efficient power tools to save time and effort.
Best tools for deck sanding:
Belt sander: Ideal for large, flat areas. Its aggressive sanding action makes quick work of weathered wood.
Random orbital sander: Great for general use and offers a swirl-free finish.
Detail sander or sanding sponge: Perfect for railings, edges, and tight corners.
Floor drum sander (optional): For expansive decks, renting a drum sander makes the job faster.
💡 Pro Tip: Always sand with the wood grain to avoid visible scratches and swirls.
🌞 Tip #4: Prioritize Safety While Sanding
Deck sanding may seem straightforward, but it generates a lot of fine dust and debris. Protect yourself and your surroundings.
Safety essentials:
Wear a dust mask or respirator: Prevent inhaling fine wood particles.
Use safety goggles: Shield your eyes from flying debris.
Protect nearby areas: Cover plants, grass, and surrounding surfaces with plastic sheeting to prevent dust buildup.
Mind the weather: Avoid sanding on windy days—it spreads dust and makes cleanup harder.
💡 Pro Tip: Use a shop vac or blower to minimize dust buildup while sanding.
🌿 Tip #5: Take Your Time on the Details
When sanding, it’s tempting to rush through flat surfaces and edges, but attention to detail makes all the difference.
Don’t overlook these areas:
Railing and balusters: Sand thoroughly, as rough spots on railings can be uncomfortable to touch.
Deck edges and corners: Use a hand sander or sanding block for precision.
Stairs and steps: These high-traffic areas need extra smoothing for safety and comfort.
💡 Pro Tip: After sanding, run your hand over the surface to feel for rough spots you might have missed.
🎯 Tip #6: Clean Between Sanding Passes
One of the biggest sanding mistakes is failing to clean between passes. Dust left behind can scratch the surface and prevent stains from adhering properly.
Here’s how to clean effectively:
After coarse sanding: Use a blower or broom to remove dust before switching to a finer grit.
After final sanding: Wipe the entire deck with a damp cloth or lightly rinse it with water. Let it dry before applying stain.
💡 Pro Tip: Vacuum between passes for the best dust removal.
🎨Tip #7: Don’t Skip the Sealing Step
Once your deck is perfectly sanded, it’s time to protect it. Applying a quality stain or sealant enhances the appearance and shields it from the elements.
Stain and sealant tips:
Choose the right product: Semi-transparent stains highlight wood grain, while solid stains offer maximum UV protection.
Apply evenly: Use a roller for large areas and a brush for edges.
Don’t overapply: Too much product can lead to a sticky, uneven finish.
Allow proper drying time: Follow the manufacturer’s instructions for optimal results.
💡 Pro Tip: For maximum protection, reseal your deck every 2-3 years.
⚠️ Bonus Tip: Common Sanding Mistakes to Avoid
Even experienced DIYers make mistakes when sanding decks. Here are a few pitfalls to watch out for:
Skipping prep work: Failing to clean and dry the deck properly leads to uneven sanding.
Sanding against the grain: This creates unsightly scratches and rough patches.
Using the wrong grit: Sanding with grit that’s too fine can prevent stain penetration.
Applying uneven pressure: Pressing too hard with the sander creates dips and uneven surfaces.
💡 Pro Tip: Slow, steady passes with consistent pressure result in a flawless finish.
📍Trust Marut Home Improvement for Professional Deck Sanding in Fairfield and New Haven Counties
If you want a perfectly smooth, splinter-free deck without the hassle, leave it to the experts at Marut Home Improvement. We provide professional deck sanding, staining, and refinishing services throughout Fairfield and New Haven Counties. Our team uses top-quality tools and expert techniques to restore your deck’s beauty and durability.
📞 Contact us today for a free estimate and enjoy a safe, stunning outdoor space all season long!

